
Photo to 3D Model — Free AI Generator
Upload one photo and get a textured 3D model in about forty seconds. No plug-ins, no modeling skills, no sign-up for your first renders — the mesh arrives in GLB, OBJ or STL, ready for Blender, Unity, Unreal or your 3D printer.
AI Image-to-3D Workbench
Upload a reference image, pick a generation model, and get a production-ready GLB in seconds. Preview it right here in the viewport, then download.
What is a photo to 3D model?
Turning a photo into a 3D model means reconstructing a three-dimensional mesh — geometry plus texture — from a flat, two-dimensional image. The result is a real 3D asset you can rotate, edit, animate, or send to a printer, not a pseudo-3D parallax effect.
Two families of technology can do it. Classic photogrammetry stitches dozens of photos of the same object into a dense point cloud, then rebuilds the surface from it. It is accurate but demanding: you need many shots, a turntable or steady hand, and patience for processing.
Single-image AI reconstruction is the newer path. A trained model looks at one photograph, infers the depth and structure of the scene, and synthesizes a plausible 3D mesh with a texture derived from the image itself. That is the approach this free generator uses — one photo in, one downloadable model out.
How AI turns a photo into 3D
Modern image-to-3D engines share a four-stage pipeline. First, depth estimation: the network predicts how far every pixel sits from the camera, producing a coarse 3D scaffold of the subject.
Second, viewpoint and structure inference: the model reasons about the parts of the object the photo does not show — the back, the underside — and hallucinates geometry that is consistent with what is visible. This is why a single photo is enough, and also why hidden surfaces are plausible reconstructions rather than measurements.
Third, mesh synthesis: the scaffold is converted into an actual polygonal mesh — vertices, edges and faces — clean enough for real-time rendering. Good engines keep the topology light enough for game engines while preserving recognizable silhouette and detail.
Fourth, texture generation: the colors and materials from your photo are projected and refined onto the mesh, producing PBR-style textures so the model looks like the original object under realistic lighting. Different engines trade speed against detail — that is why this generator offers more than one.
How to convert a photo to a 3D model in 3 steps
The whole workflow runs in your browser. Here is the entire process, start to download.
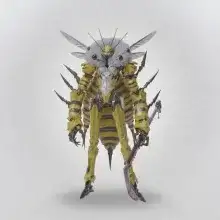
1 · Upload your photo
Drag a JPG, PNG or WebP image onto the generator. A clear photo of one object — a figurine, a prop, a sculpture — works best. Files up to 10 MB are accepted.
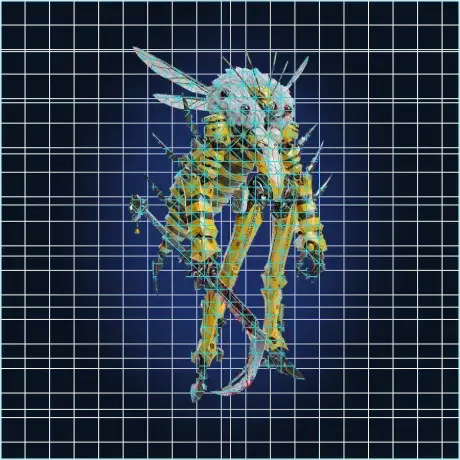
2 · Pick an engine
Choose between speed and detail: a fast engine returns a preview-grade mesh in about fifteen seconds, while heavier engines spend extra time on topology and texture. Your first renders are free — no account needed.
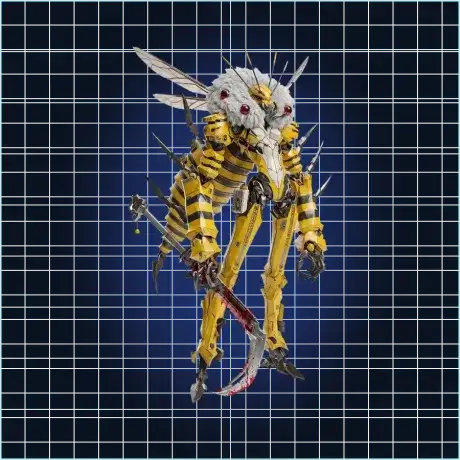
3 · Download the model
Preview the rotating result right in the page, then download it as GLB for the web, OBJ for DCC tools, or STL for 3D printing. Re-generate with a different engine any time.
What kind of photo makes the best 3D model?
The single biggest factor in output quality is the input photo. AI reconstruction amplifies whatever the image gives it — follow these rules and your first attempt usually lands well:
- One clear subject — a single object, not a busy scene or a group of objects.
- Plain, contrasting background — the subject's outline stays crisp for depth estimation.
- Even, diffuse lighting — avoid harsh shadows and blown-out highlights that eat surface detail.
- Sharp focus on the subject — motion blur and shallow depth of field both degrade the mesh.
- A three-quarter angle — slightly above and to the side shows the most structure in one view.
- Reasonable resolution — roughly 512×512 px or more; giant files add nothing beyond that.
Photos of matte, solid objects — figurines, sculptures, shoes, props, toys — reconstruct most faithfully. Shiny, transparent or hair-thin structures are the hardest and may need a second attempt from another angle.
Export formats explained
The same model downloads in three formats, each tuned to where it is headed:
GLB — web & AR
The glTF binary bundles geometry, textures and materials into one file. It is the standard for web viewers, product configurators and AR frameworks — and what the on-page preview renders.
OBJ — 3D software
The veteran exchange format. Import it into Blender, Maya, 3ds Max or ZBrush for cleanup, retopology or painting — every tool speaks OBJ.
STL — 3D printing
Geometry-only, watertight-oriented and universally accepted by slicers. Send it straight to Cura, PrusaSlicer or Bambu Studio and print.
FBX and USDZ exports are available on paid plans for Unity and iOS Quick Look workflows.
What people build from photos
Game assets
Prototype props, shields, statues and set dressing from concept art or reference photos, then iterate in-engine the same day instead of waiting for a modeler.
3D printing figurines
Photograph a figurine, download the STL and print a variant at any scale — custom cake toppers, D&D minis and display pieces from objects you already own.
AR & XR
GLB output drops straight into AR frameworks and WebXR scenes: put a product on a customer's desk or a character in their room.
Product visualization
Turn studio product shots into 3D turntables and configurators without a scanning rig — one photo per SKU is enough to start.
Education & heritage
Reconstruct fossils, artifacts and models for virtual labs so students can inspect them from every angle, from anywhere.
Rapid prototyping
Sketch or photograph an idea, hold a printable approximation within the hour, and decide with something in your hands.
Photo to 3D for the subjects people search for
Reconstruction quality depends heavily on the subject category. This is what you can expect from the most common ones:
Figurines & toys
The sweet spot. Solid, matte, well-lit collectibles reconstruct almost perfectly — clean silhouette, readable texture, print-friendly topology. Start here if this is your first generation.
Props & weapons
Swords, shields, helmets and sci-fi props from concept art or cosplay photos come out game-ready fast. Flat backs are inferred cleanly; intricate grips may need a second pass from another angle.
Shoes & products
Studio product shots have plain backgrounds and even light — ideal input. Expect faithful uppers and plausible soles; the unseen bottom is the one surface no photo ever shows.
Busts & characters
Front-facing busts and statues work well. Full characters photographed straight-on lose side volume; a three-quarter pose restores it. Hair and thin accessories remain the hardest details.
Vehicles & scenes
Single-photo cars, mechs and dioramas produce great concept maquettes rather than scale models. Treat them as blockouts for further modeling and you will be delighted.
Photo to 3D: the approaches compared
Before AI, going from a photo to a usable model meant a serious pipeline. Here is how the realistic options compare today:
| Approach | What it needs | Best for |
|---|---|---|
| AI single-photo generator | 1 photo, seconds, browser | Speed, creative drafts, props & printing |
| Phone photogrammetry apps | 50–100 photos, controlled capture | Accurate scans of small real objects |
| Desktop reconstruction suite | Pro camera, workstation, hours | Survey-grade capture, heritage work |
The AI route trades measured accuracy for a hundredfold drop in effort — for anything you would model by hand from a reference photo, it is already the fastest first draft.
One photo or many? Honest limits
A single photo cannot reveal what it never saw. Geometry on the far side of the object is inferred, not measured — expect a believable back, not a surveyed one. For most creative uses (game props, concept art, printing figurines) that is exactly what you want.
When you need accuracy instead — scanning a real part for CAD, documenting an artifact — take several photos around the subject and generate from the most descriptive view first, then compare results. Multi-view reconstruction with dedicated capture is on this tool's roadmap; until then, single-photo mode covers the fast path.
From photo to Blender: a cleanup workflow
Raw AI output is a first draft. If it is going somewhere serious, a ten-minute Blender pass raises it to production quality:
1. Import the OBJ, then decimate anything above ~80k triangles that will not be seen up close. Real-time scenes rarely need more.
2. Check scale and orientation. AI meshes arrive in arbitrary units — apply a real-world size before anything else, so physics and printing behave.
3. Fix the silhouette, not the wireframe. Users see outlines and silhouettes first; spending your minutes there beats chasing perfect quad topology on an inferred back face.
4. Re-bake or touch up textures on a second UV pass if the projection stretched anywhere — usually the sides the photo never saw.
3D printing your photo model
The STL export is print-oriented, but a few slicer habits make the difference between a keeper and the recycle bin:
Print the reconstructed side up when you can — the photographed surface is the accurate one. Orient flat or delicate overhangs against the build plate, and let supports carry only what geometry cannot.
Figurines print best at 0.12 mm layers with tree supports; mechanical parts want 0.2 mm and three walls. Paint the texture's key colors afterward with washes — a hundred times faster than color printing.
Bringing your model into Unity, Unreal or Godot
The GLB export is native to modern engines, so the trip from download to in-game takes minutes:
Unity: install the glTF import package, drop the GLB into Assets, and the mesh plus PBR materials arrive together. Scale is imported in meters — if the object lands tiny, check the import scale factor rather than re-generating.
Unreal Engine 5: drag the GLB into the Content Browser and enable "Convert Scene" for materials. Meshes come in as Nanite-compatible static meshes; for hero assets, run a quick retopology pass first.
Godot 4: GLB is imported natively — drop it in and the scene instantiates with materials. It is the fastest path of the three and a good reason to keep GLB as your working format.
Whichever engine you use, keep the original photo next to the model file. When a teammate asks why a silhouette reads a certain way, the source image answers in one glance.
Common problems and fixes
The mesh is blobby or melted
The photo is too small, too dark, or the subject too distant. Crop tighter on the subject, brighten evenly, and retry — this fixes most failures outright.
The back of the model looks invented
It is invented — that is what inference means. Photograph the other side, generate a second model, and merge the two in Blender when you need both faces accurate.
Texture is stretched on the sides
Side surfaces got almost no pixels in the source photo. Give the object a slight angle instead of a dead-on shot, or repaint the stretched region over the projected base.
Two objects came out fused
Depth estimation merged the subject with a nearby object or its own shadow. Isolate one subject per photo and clean the background — one clear object, one model.
Photo to 3D model — FAQ
Is this photo to 3D model generator really free?
Yes. You get free renders with no sign-up — enough to test the engine on your own photos. Heavier engines and more renders use credits, and paid plans add bulk exports like FBX and USDZ.
How long does one photo take?
The fast engine returns a preview-grade mesh in roughly fifteen seconds; detail-oriented engines take up to about a minute depending on queue load. The whole loop — upload, generate, download — usually fits inside two minutes.
Which formats can I download?
Every model downloads as GLB, OBJ and STL at no extra cost. FBX and USDZ are available on paid plans.
Can I use the models commercially?
Yes — models you generate are yours to use in games, prints and client work. You are responsible for having the rights to the source photo, and recognizable people or trademarked products should not be reproduced without permission.
How accurate is a single-photo reconstruction?
Visible surfaces track the photo closely; hidden surfaces are plausible AI inference. Expect faithful silhouettes and textures, not millimeter-accurate scans — perfect for creative work, not for reverse-engineering precision parts.
What photos should I avoid?
Crowded scenes, tiny distant subjects, heavy motion blur, transparent or mirror-like objects, and anything where the subject occupies less than a third of the frame. These confuse depth estimation and produce mushy geometry.
Is this the same as photogrammetry?
No. Photogrammetry measures many photos to reconstruct exact geometry; this generator infers a 3D model from one photo using trained networks. You get a usable mesh with a hundredth of the effort, at the cost of measured accuracy.
Can I improve a model I don't like?
Regenerate with a different engine, try another angle or a cleaner crop, or take the OBJ into Blender for cleanup. Small input changes often change the result dramatically — it is worth two or three attempts.
Do I need a green screen or studio?
No. A plain wall, an overcast window or a sheet of paper behind the object is enough. The engine needs a readable silhouette, not a professional backdrop.
Will it work on a phone photo?
Yes — most generations start from phone cameras. Respect the basics: tap to focus on the subject, avoid digital zoom, keep the lens clean, and hold steady. A modern phone in daylight beats an old DSLR in a dark room.
One photo away from your first 3D model
Pick a clear photo, drop it in, and watch a printable, game-ready mesh come back before your coffee cools. Your first renders are free — no account, no credit card.
Turn a photo into 3D — free