2D to 3D Photo Conversion: How It Works
What 2D to 3D photo conversion produces, how single-image AI reconstruction works stage by stage, and when to pick heightmaps or photogrammetry instead.
On this page
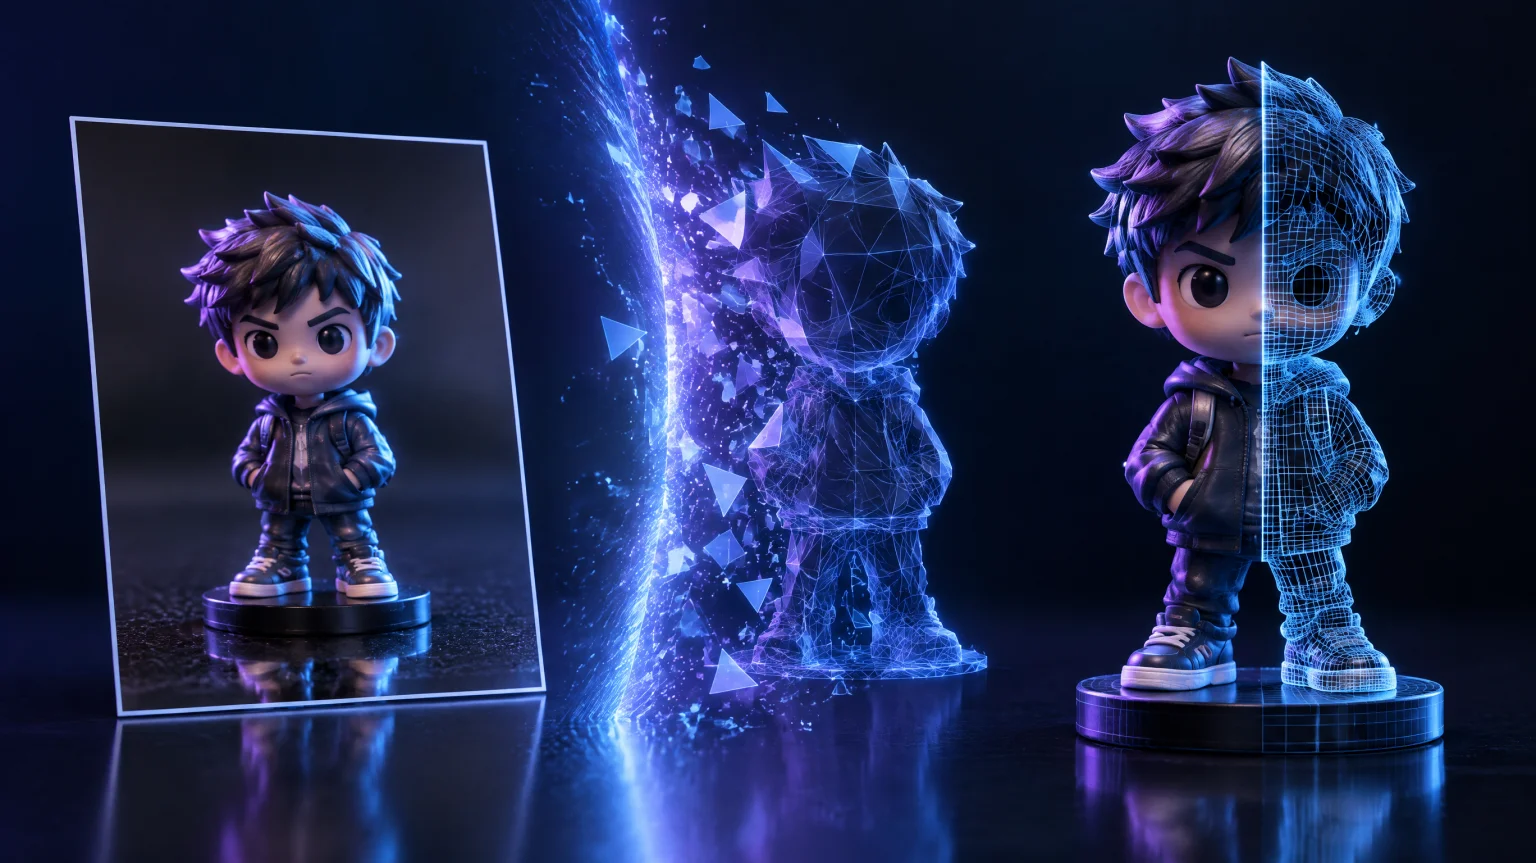
Ask how to convert a 2D photo to 3D and you'll find the phrase attached to at least three different technologies, only some of which give you what you probably want: a real 3D file. This piece untangles them — what a converted photo actually is, how single-image AI reconstruction builds a mesh from one frame, where heightmaps and photogrammetry fit in, and which method suits which job. No math beyond arithmetic, and every claim about the featured generator comes from its own published pages.
TL;DR: single-image AI reconstruction turns one photo into a textured, rotatable GLB mesh in under a minute; heightmaps make raised relief on flat plates; photogrammetry needs dozens of photos but measures the back. Output on this site is GLB — import it into Blender (free) when you need OBJ or STL. Free accounts get starter credits, and the Trellis Preview engine's first render costs nothing.
What "converting" a photo actually produces
A real conversion outputs geometry plus texture — a mesh you can rotate, edit, animate, or send to a printer. That's the test separating conversion from the many pseudo-3D effects that borrow the same vocabulary: parallax wobbles, depth-of-field fakes, 2.5D scene tricks. All of those dress up the original pixels; none of them produce a file a game engine or a slicer will accept.
So the practical definition is simple. If the output imports into Blender, Unity or a slicer as a mesh, it was a conversion. If it only looks deeper on your screen, it was an effect.
How single-image conversion works, stage by stage
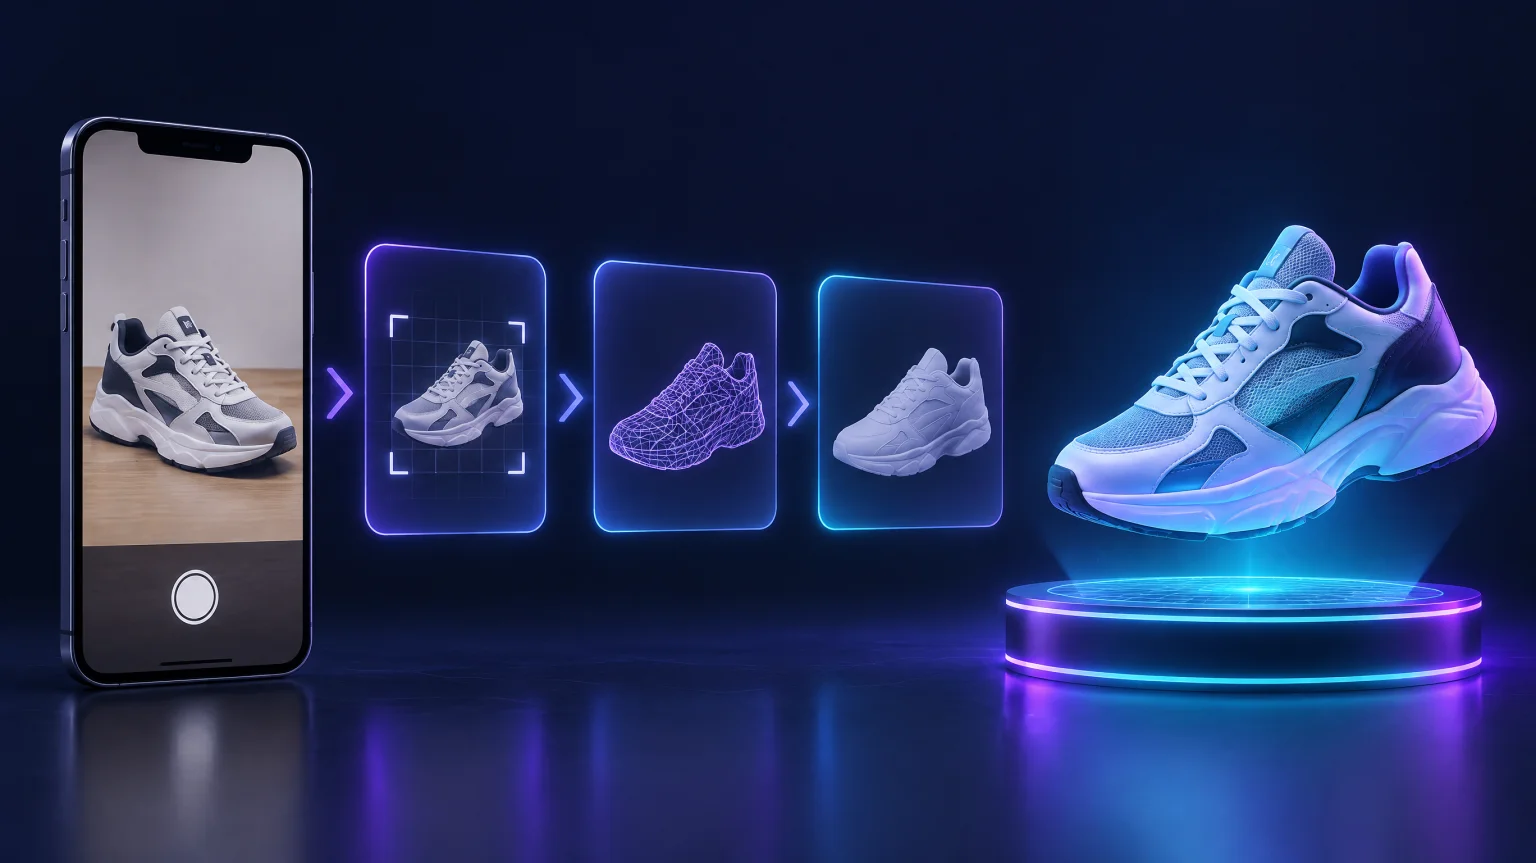
Modern image-to-3D engines share a four-stage pipeline.
Stage 1 — Depth estimation. The network predicts how far every pixel sits from the camera, producing a coarse 3D scaffold of the subject.
Stage 2 — Viewpoint and structure inference. The model reasons about the parts of the object the photo does not show — the back, the underside — and synthesizes geometry consistent with what is visible. This is why a single photo is enough, and also why hidden surfaces are plausible reconstructions rather than measurements of the real thing.
Stage 3 — Mesh synthesis. The scaffold becomes an actual polygonal mesh — vertices, edges, faces — clean enough for real-time rendering, with topology light enough for game engines while keeping a recognizable silhouette and detail.
Stage 4 — Texture generation. The colors and materials from your photo are projected and refined onto the mesh, producing PBR-style textures so the model looks like the original object under realistic lighting.
One honest note runs through every stage: the camera saw one side, and everything else is disciplined invention. It works better than intuition expects on matte, solid objects, and it fails in predictable ways on reflective, transparent or hair-thin things — mirrors, chrome and glass break every method in this field.
The other kind of 2D-to-3D: heightmaps
The oldest conversion trick in the maker world takes image brightness as depth: dark pixels stay low, bright pixels rise. The output is raised relief on a flat plate — lithophanes that reveal a photo when backlit, embossed coins, logo plaques.
Heightmaps are genuinely 3D in the geometric sense and print beautifully, but the geometry never grows a back side; from behind, the object is a slab. Use the heightmap route when the job is a raised picture on a flat plate. Use the AI route when the job is an object.
Photogrammetry: the third road
Before single-image AI there was photogrammetry, and it still holds its ground. Classic photogrammetry stitches dozens of photos of the same object — shot from every side, often on a turntable — into a dense point cloud, then rebuilds the surface from it. It is the accurate method: measured, with the back included.
The cost is the shoot. Many photos, steady overlap, patient processing. For museum-grade reproduction it remains the standard. For "I have one photo and want a model this afternoon," it's the wrong tool — that job belongs to single-image reconstruction, which trades measured accuracy for speed and convenience.
Which method fits your job
A short decision table, with the opinionated version included:
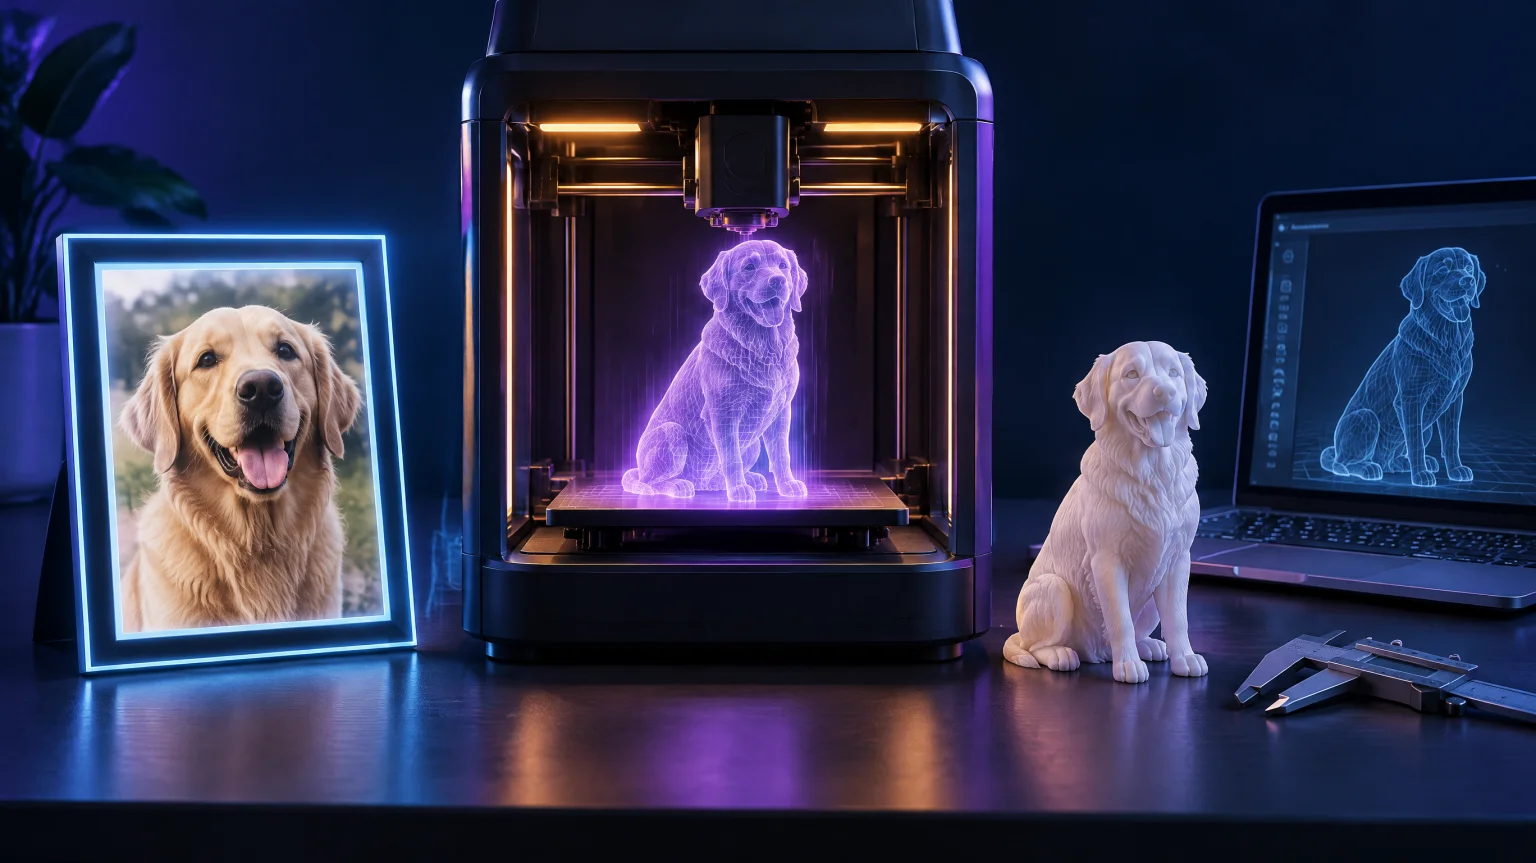
- One photo, one solid object, want a rotatable or printable model → single-image AI conversion. The AI photo to 3D generator runs this route entirely in the browser: upload, engine, textured mesh in about forty seconds — a free account and starter credits are all it takes, no credit card.
- A raised picture on a flat plate — lithophane, coin, plaque → heightmap converter.
- Dozens of photos available, accuracy matters, back side must be measured → photogrammetry.
- A 2.5D visual effect on screen → none of the above. That's an effect, and effects are fine — they just aren't conversions.
What comes out the other end
Convert a photo through the pipeline above and you get a GLB file — a single self-contained mesh with baked PBR textures. GLB imports straight into web viewers, AR quick-look, Unity, Unreal and Blender. If your end target is OBJ (ZBrush) or STL (slicers), the path is one free step: drop the GLB into Blender, then export to the format you need — two clicks, no cleanup required for typical figurine meshes.
In a hurry? The OBJ to STL converter handles that conversion in-browser — no Blender round-trip.
Engine choice changes what arrives. The picker offers four engines: Tripo SR at around 15 seconds for a preview-grade mesh (1 credit), Trellis Preview at around 30 seconds — free on your first run, TRELLIS 2 at around 45 seconds for clean topology and texture (4 credits), and Hunyuan3D v3 at around 90 seconds for full detail (8 credits). That spread mirrors the field. A benchmark shared on r/aigamedev — one rented RTX 4090, 40 generations of the same photo — placed four open-source engines between 8.5 and 239.4 seconds on identical input:
| Engine | Time | Result | Best for |
|---|---|---|---|
| Hi3DGen | 8.5 s | clean but untextured mesh (~5 MB) | fastest raw geometry |
| TRELLIS v1 | 21.3 s | textured (~1.5 MB) | quick textured drafts |
| TRELLIS.2-4B | 167.5 s | best textures (~35 MB) | final-quality assets |
| Hunyuan3D-2 | 239.4 s | best shape-texture balance (~12 MB) | balanced finals |
The gap is mostly a second paint pass: fast engines hand you raw geometry, slow engines paint the object properly. Neither approach is better, full stop — the right question is whether you're iterating or finalizing.
FAQ
What does 2D to 3D photo conversion mean?
Taking a flat image and producing a 3D mesh from it — geometry plus texture, importable into 3D software or a slicer. The phrase loosely covers single-image AI reconstruction, heightmap relief and photogrammetry; they take different inputs and produce different things, and this article maps which is which.
Is a 2D to 3D photo converter accurate?
On visible surfaces, usefully accurate — the texture comes straight from your photo. On hidden surfaces, no 2D to 3D photo converter can be accurate in the strict sense: the camera never saw them, so they're plausible inferences. Judge the front, treat the back as a reasonable guess, and re-shoot from another angle if the back matters.
Can I convert 2D to 3D from a single photo?
Yes — single-image AI reconstruction exists precisely for this. One photo of a solid object against a plain background converts in about forty seconds end to end for the full textured result, faster on a preview engine.
Which 2D photo to 3D converter is free?
ImageTo3D gives every new account starter credits, and the Trellis Preview engine's first render is free — a full textured GLB, no watermark. For context: Meshy's free tier is 100 credits a month with attribution required on output, Tripo's is 300 credits a month, non-commercial, and the open-source engines (TRELLIS, Hunyuan3D) are free if you bring your own GPU. All terms as published November 2026 — check a tool's current page before committing.
What is photo 2D to 3D conversion used for?
Game assets prototyped from concept art, printable figurines and props, AR product previews, product visualization — anywhere a rotatable 3D file is wanted and a modeling backlog is not.
Does a 2D to 3D picture converter work with phone photos?
Yes. Tap to focus, skip the digital zoom, shoot in daylight. The usual input rules — one whole subject, plain background, even light, sharp focus — matter more than which camera took the shot.
Where to go next
Want to run the pipeline yourself? hands-on: turn a photo into a 3D model walks every step in order, from picking the photo to downloading the file. Headed for the printer instead of the screen? from photo to printable 3D model covers the slicing, printer and material half of the journey.
The one-photo test
Reading about conversion gets you nothing that one conversion wouldn't. The free image-to-3D tier gives you starter credits the moment you create a free account — pick an object on your desk, photograph it against something plain, and find out in forty seconds what your camera roll converts into.
Sources: pipeline, format and free-tier facts from image-to-3d.app/photo-to-3d-model and image-to-3d.app/image-to-3d-model-free, fetched November 12, 2026; competitor free-tier terms and the open-source engine benchmark as published on the free page, the latter cited there from r/aigamedev.
Turn your photo into a 3D model
Free, online, no sign-up — ready in about a minute.