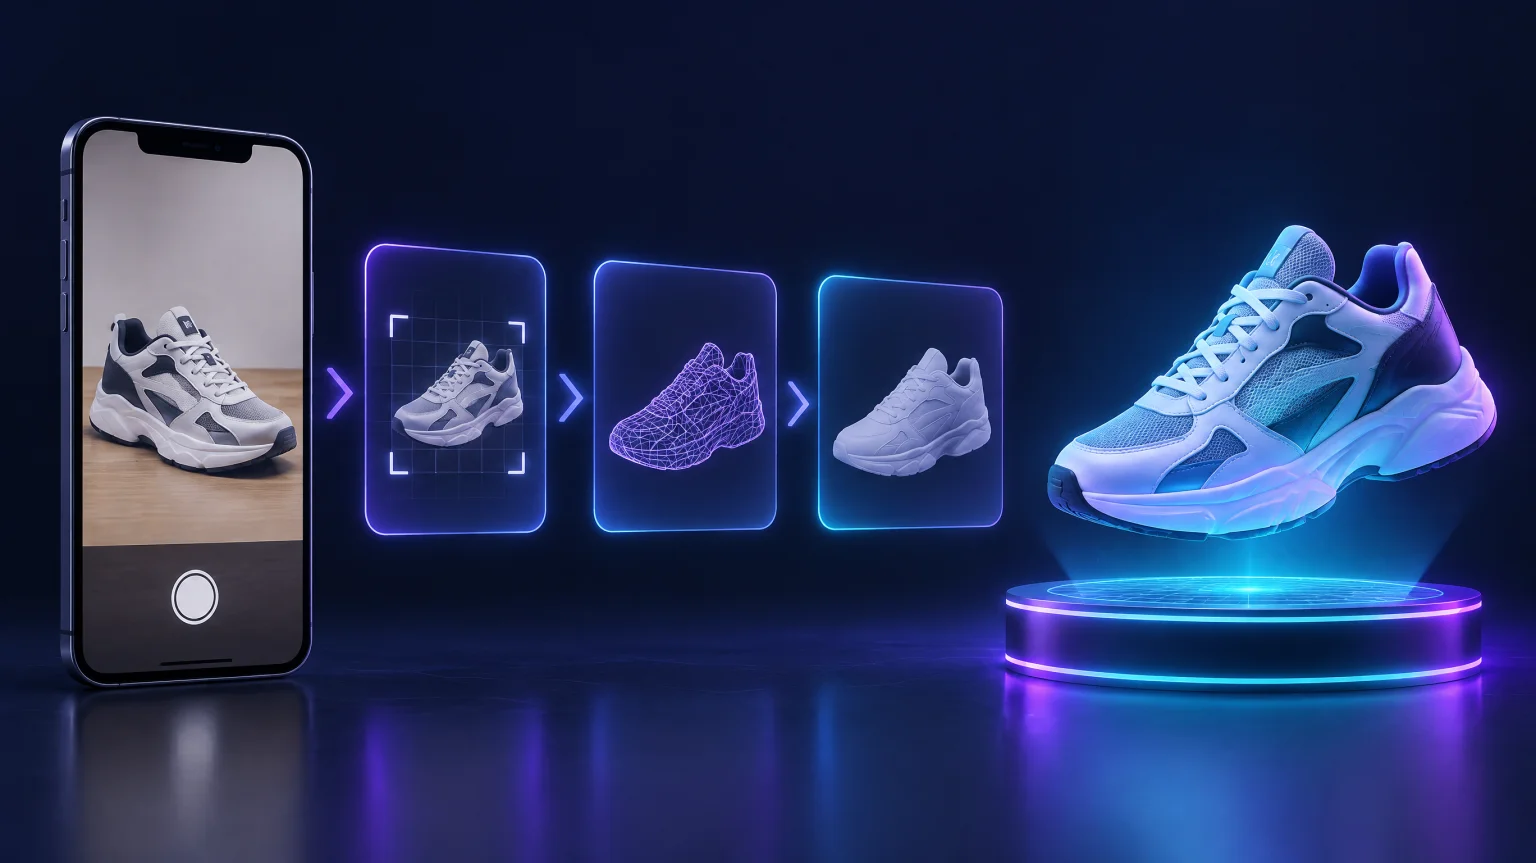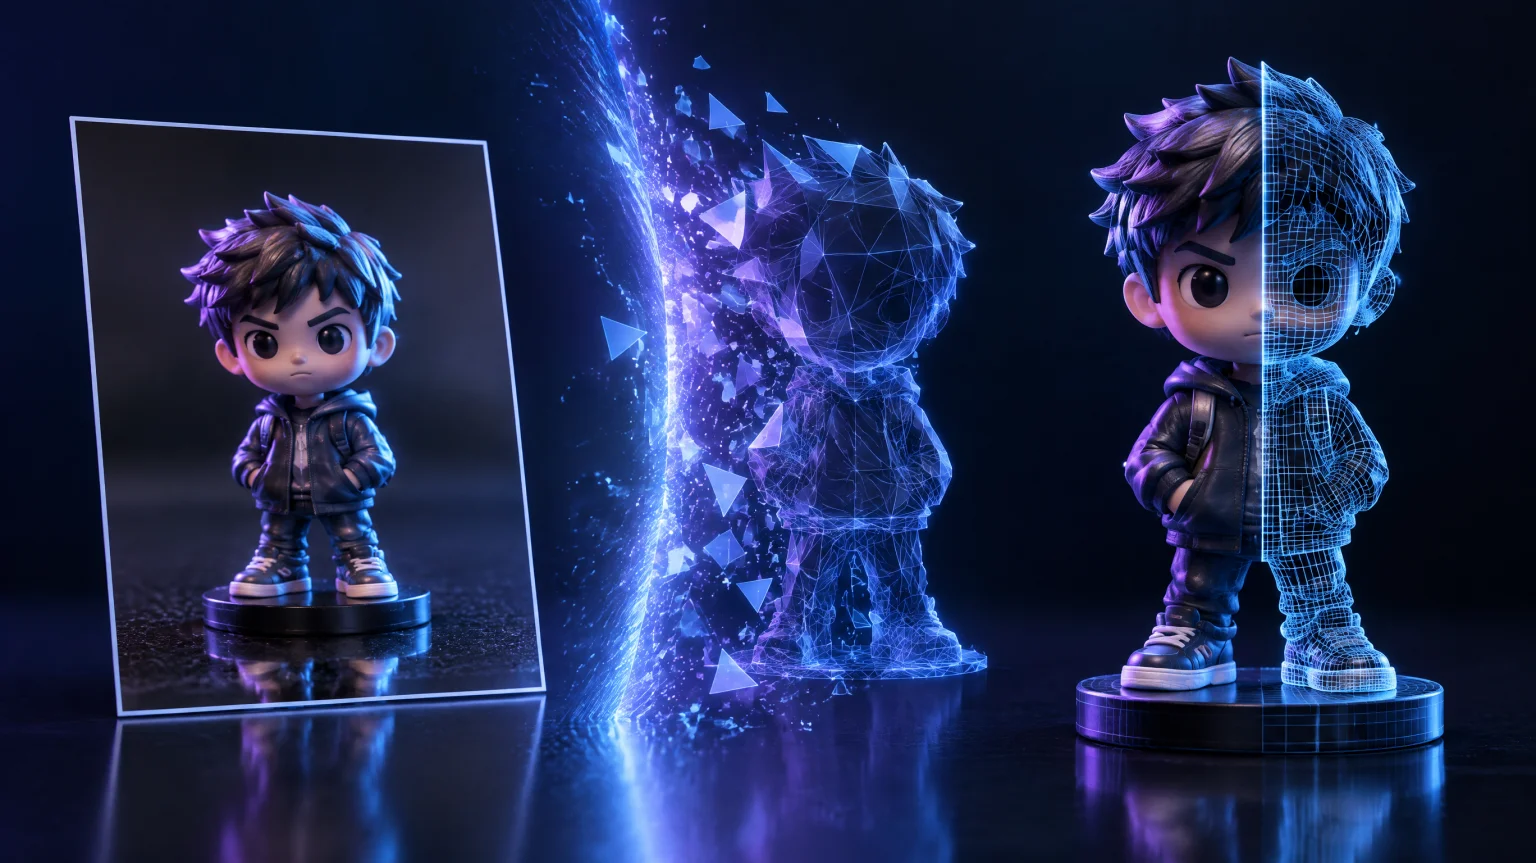
Picture to 3D Print: Photo to Printable 3D Model
Turn a picture into a printable 3D model: photo rules, engine choice, GLB download, Blender STL export, and slicer and printer checks for figurines.
On this page
- Two ways a picture becomes a print
- Start with a photo that prints well
- Turn the picture into a 3D model
- Why the converter's output is printable at all
- Which export format to use for printing
- From model file to sliced file
- From picture to 3D printer: which machine suits the job
- When the mesh needs cleanup first
- The classic project: figurines from photos
- What the free tier lets you do before paying anything
- Failure modes and their fixes
- Where to go next
- Print one this week
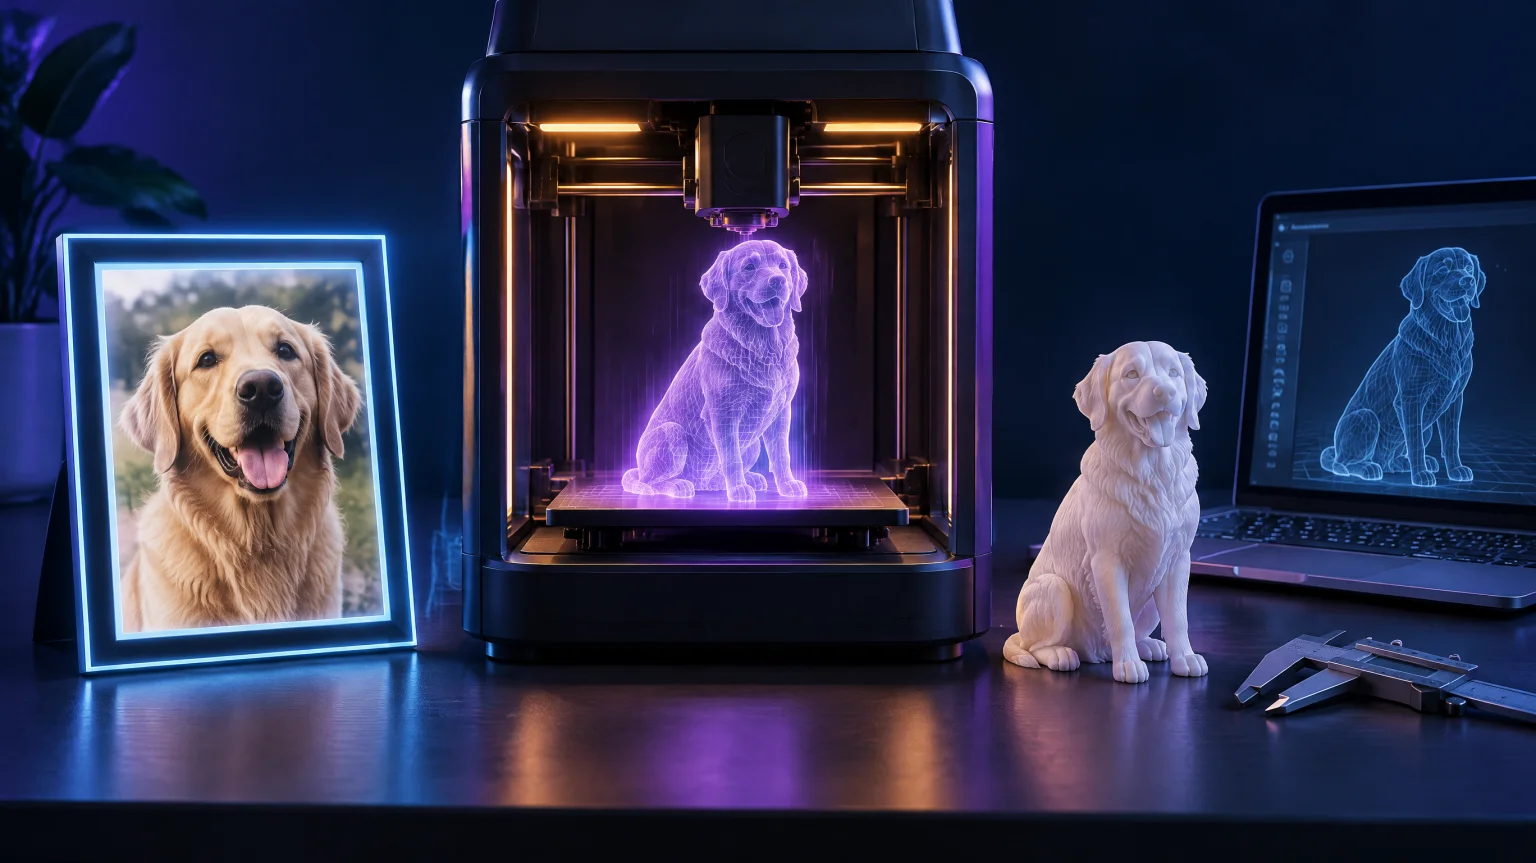
A photo and a 3D printer sit closer together than they used to. The direct route — picture in, printable model out — now takes about a minute of work, and the only modeling software involved is a free Blender export if you want STL. This guide walks the full road: what kind of photo to start from, how the conversion produces something a printer can actually use, which file to download, and what to check in the slicer so the result survives handling.
Along the way it separates the two things people mean by "picture to 3D print," because they lead to genuinely different objects. Pick the wrong one and you'll get a flat plaque when you wanted a figurine — or the reverse.
TL;DR: the AI route turns one photo into a textured GLB mesh in about a minute; Blender converts that GLB to STL in three clicks; then it's ordinary print prep
Prefer to skip the Blender step? The image to STL converter generates a printable mesh straight from your photo, and the OBJ to STL converter turns an already-downloaded GLB into STL in the browser. — wall thickness, scale, orientation, supports. Free accounts get starter credits and a costless first render on the Trellis Preview engine.
Two ways a picture becomes a print
Search around and you'll meet two different technologies hiding behind the same phrase.
The AI mesh route generates a full, closed three-dimensional mesh from your photo: a model with volume, a front and a back, something that stands up in three dimensions. This is the route for figurines, props and anything that should read as an object from every side.
The heightmap route is older and simpler. A converter reads the brightness of your image and turns it into surface depth — dark pixels stay low, bright ones rise. The result is raised relief on a flat plate: lithophanes that reveal a photo when backlit, embossed coins, logo plaques. Very printable, but the geometry never grows a back side; from behind, it's a slab.
The working rule of thumb: volume shapes go through the AI route, and a raised picture on a flat plate goes through the heightmap route (dedicated converters like itslitho handle that road). Everything below follows the AI route, since that's the one that turns a picture into a true 3D model; the heightmap route gets a fair hearing near the end.
Start with a photo that prints well
A conversion can only be as good as its input, and printing raises the stakes: weaknesses that would be invisible on screen become cracks and flakes on the desk. The generator's input guide, reordered slightly for printing:
- One whole subject. Nothing important cropped off at the frame edge — what's missing at generation time is missing at print time.
- A plain background. Clutter behind the subject turns into lumps on the mesh, and lumps turn into support nightmares in the slicer.
- Even, shadowless lighting. Hard side shadows read as geometry, and invented ridges print exactly as faithfully as intended ones.
- Visible structure. Whatever the camera can't see — the back, the underside — the model has to invent. Invented surfaces need enough wall thickness to hold together, which is why solid, chunky subjects print more reliably than delicate ones.
- Sharp and reasonably large: 512 pixels or more on the subject.
- No mirrors, chrome or glass. Reflective surfaces break every method in this field.
Phone photos are fine. Tap to focus, skip the digital zoom, shoot in daylight. Matte, solid objects — figurines, sculptures, shoes, props, toys — convert most faithfully — convenient, since that covers most of what people want to print.
Turn the picture into a 3D model
Now the conversion itself. The free photo to 3D model tool runs the whole pipeline in the browser: upload, engine, mesh, download — about forty seconds end to end for the full textured result, no plug-ins, no modeling skills.
The steps in order:
- Upload your photo. Drag a JPG, PNG or WebP onto the workbench. Generating takes a free account — email only, no credit card — which you can create in about twenty seconds when prompted.
- Pick an engine. Tripo SR returns a preview-grade mesh in about 15 seconds — the right choice for testing whether your photo converts at all. Trellis Preview takes around 30 seconds and your first render on it is free. TRELLIS 2 takes around 45 seconds and adds clean topology and texture; Hunyuan3D v3 takes around 90 seconds for full detail. Iterate fast, finalize slow.
- Generate and preview. The result rotates in the page. Look at the back as well as the front: hidden surfaces are the engine's own invention, and they're the parts your printer will build layer by layer, so they matter more here than they would on screen.
- Download the GLB, then export STL from Blender. The generator outputs GLB — the mesh with textures bundled. Your slicer wants STL, and the bridge is three clicks in Blender: File → Import → glTF 2.0, then File → Export → STL. Two minutes, no cleanup for typical meshes — the format section below has the details.
The free tier is genuinely usable for this: a new account comes with starter credits, and the first render on Trellis Preview costs nothing — enough to convert and print-test your photo before any payment.
Why the converter's output is printable at all
One question worth a paragraph: why does a mesh inferred from a single photo hold up in a slicer, when it was partly invented?
Because the invention is disciplined. Modern image-to-3D engines run a four-stage pipeline — depth estimation builds a scaffold from the photo, structure inference fills in what the camera never saw, mesh synthesis turns that scaffold into actual polygons (vertices, edges, faces), and texture generation paints the photo's colors onto the result. The stage-3 mesh is closed and connected rather than a loose point cloud — that's what a slicer requires. Quality varies with photo and engine, but "printable straight from the generator" is the design goal, and mostly it lands.
A companion piece linked at the end of this guide unpacks the pipeline stage by stage.
Which export format to use for printing
The generator downloads one file — GLB, textures bundled. For printing, the conversion happens in Blender:
- GLB (from the generator) — the glTF binary carries geometry, textures and materials in one file. Blender imports it directly with textures attached: File → Import → glTF 2.0.
- STL (export from Blender) — geometry only, universally accepted by slicers. After import: File → Export → STL. Check wall thickness first if the model has invented back-side surfaces.
- OBJ (optional detour) — if you expect to repair or repaint the mesh, exporting OBJ from Blender preserves texture coordinates through ZBrush or texture-paint round-trips.
No paid tier is required for any of this — GLB download, Blender and STL export are all free steps.
From model file to sliced file
Drop the STL into your slicer — Cura, PrusaSlicer and Bambu Studio are the usual three — and four checks are worth making before you commit plastic:
- Wall thickness, first, every time. AI meshes can hide thin spots, and the invented back-side surfaces are the usual suspects. Slicers flag thin walls; don't print through the warning without a look.
- Scale. Set the physical size explicitly rather than trusting the import. Generated models arrive at the generator's scale; "roughly the right size" is your call, made deliberately.
- Orientation. Flat spots and stray lumps from the photo's background tend to migrate to wherever the model's underside lands. Rotating the piece a few degrees often moves them out of the visible faces.
- Supports. Overhangs the engine invented — under a chin, behind an arm — usually need support material in FDM printing. Your slicer's automatic supports handle most of it; the removed scars sand out like any other print.
None of this is unique to AI-generated meshes; it's ordinary print prep. The wall-thickness check is the one step specific to this workflow, because thin invented surfaces are its known weak spot.
From picture to 3D printer: which machine suits the job
Both consumer printer families work with photo-generated models, and they suit different projects:
- FDM (filament) printers are the choice for props and larger pieces: cheap runs, tough parts, and layer lines that only show at small scales.
- Resin (MSLA) printers capture fine detail, which makes them the natural home of miniatures and figurines — at the cost of resin handling and a wash-and-cure step after every print.
What matters just as much as the machine is the mesh you feed it. A well-lit photo of a matte object generates a sturdier model than a glossy shelf shot, whatever printer sits downstream. If a first print comes out thin and flaky, the fix usually isn't the printer — it's a better photo and a regeneration.
When the mesh needs cleanup first
Some models print exactly as they come out of the generator. Others earn ten minutes in Blender first:
- Import: File → Import → glTF 2.0 if you downloaded GLB — textures arrive attached. OBJ imports the same way, minus bundled materials.
- Repair: Blender's 3D-Print Toolbox add-on highlights non-manifold edges and thin walls, and the remesh tools thicken or rebuild problem areas.
- Paint: if repair strips texture from a region, the OBJ round-trips through ZBrush or Blender's texture paint for touch-ups.
SketchUp users, one detour: SketchUp doesn't read GLB natively. Import in Blender, export DAE or FBX, then bring that file in.
This is optional work, and it's worth saying plainly: test-print the raw STL first. If it holds together, skip the cleanup and spend the evening on the next photo instead.
The classic project: figurines from photos
The use case that made this workflow popular: photograph a figurine you already own, convert it to a mesh, export STL from Blender and print a variant at any scale. Cake toppers, D&D minis, display pieces — all from objects sitting on a shelf.
The input rules apply as everywhere, plus two figurine-specific notes. Matte beats glossy: a dusted figurine photographed on a plain surface converts better than one behind display-case glass, which adds reflections the engine will happily sculpt. And the three-quarter angle shows more structure than a straight side view — remember that hidden surfaces are reconstructions, so give the camera the most informative view you can. Generated on a slower engine, a clean figurine photo usually produces a model that prints without cleanup at miniature scale; regenerating from a second angle is the escalation path when it doesn't.
Resin is the natural material for these — detail is the whole point of a figurine — while FDM handles a dozen cake toppers on a Tuesday without ceremony.
What the free tier lets you do before paying anything
The free arrangement, spelled out in full:
- Free account (email only, no card): starter credits on signup, and the first render on the Trellis Preview engine costs nothing — a full textured GLB with no watermark.
- Paid (from $19.90/month as of November 2026): a bigger credit balance for iterating, a higher mesh face ceiling — 200K faces on Starter, up to 1M on Max — and a commercial license.
That commercial-license line is the real boundary. Free output is for testing and personal projects, and the day a model ships in client work or a product you sell is the day the paid tier becomes the right tool. For testing whether a picture converts — which is where most picture-to-3D-print projects start — the free account asks for nothing but an email.
Failure modes and their fixes
- Lumps and blobs on surfaces — clutter behind the subject became geometry. Fix: re-shoot against a plain background.
- Missing chunks or merged parts — the subject was cropped at the frame edge, or harsh shadows read as structure. Fix: frame the whole subject and diffuse the light.
- Thin, flaky walls that crack — invented back-side surfaces came out too thin. Fix: check wall thickness in the slicer; regenerate from an angle that shows more structure.
- Waxy, melted look — reflective or transparent surfaces. Fix: matte object, matte photo, regenerate.
- A great front and a mushy back — normal for single-photo reconstruction. Fix: a second photo from behind; a slower engine for the final.
Every fix on that list is a photo fix or a slicer fix. None of them needs modeling software — that's the point of the route.
Where to go next
Want the conversion itself at screenshot-level detail — engine choice, format picking, fixing bad inputs, step by step from zero? The step-by-step photo-to-3D tutorial covers that ground. And if the question underneath this whole guide is what actually happens when software turns a flat image into something with depth, how 2D-to-3D conversion works explains the four-stage pipeline in plain language.
Print one this week
The whole route fits in an evening: shoot an object against a plain wall, convert it, slice it, print it. Try the free image-to-3D model generator, export STL from the GLB in Blender, and the first photo-generated print can be on the plate tonight. If it comes out lumpy, that's the photo talking — re-shoot, regenerate, slice again.
Sources: conversion, format and free-tier facts from image-to-3d.app/photo-to-3d-model and image-to-3d.app/image-to-3d-model-free, fetched November 12, 2026. Slicer, printer and material guidance reflects general 3D-printing practice, not product claims.
Turn your photo into a 3D model
Free, online, no sign-up — ready in about a minute.