Turn a Photo Into a 3D Model — Free Step-by-Step
Turn a photo into a 3D model step by step: pick a photo that converts well, choose an engine, generate, and download the GLB — free, in your browser.
On this page
- How to turn a photo into a 3D model: the 60-second version
- What you need to turn a picture into a 3D model
- Step 1: Pick a photo that converts well
- Step 2: Open a photo to 3D model converter
- Step 3: Choose an engine — speed against detail
- Step 4: Generate, then look at the result honestly
- Step 5: Download the GLB — and convert it if you need another format
- Step 6: If the result is wrong, fix the photo first
- What to do with the finished model
- Quick answers
- Your first model is about forty seconds away
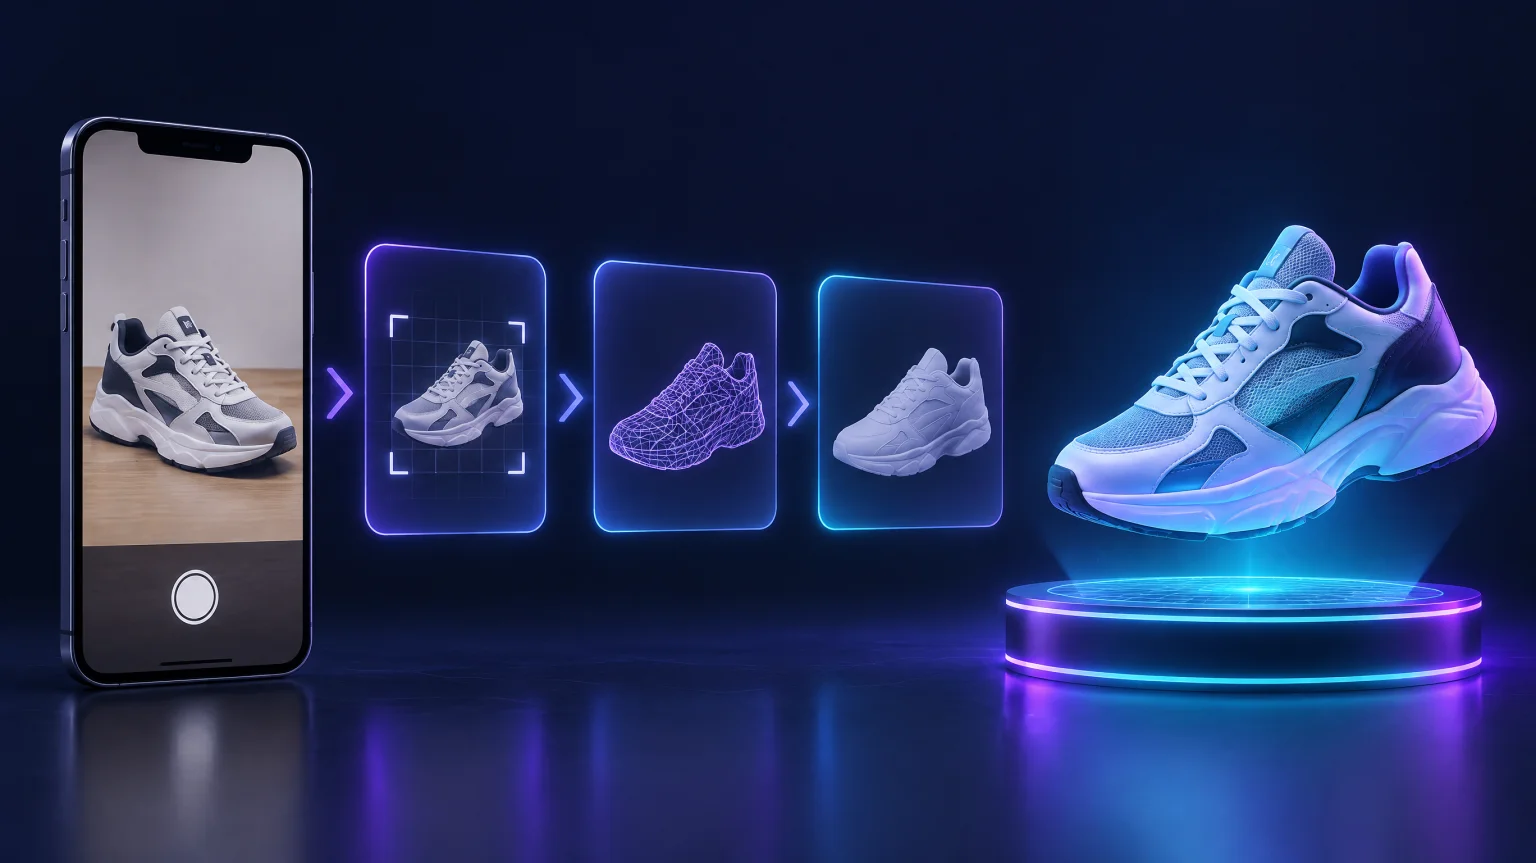
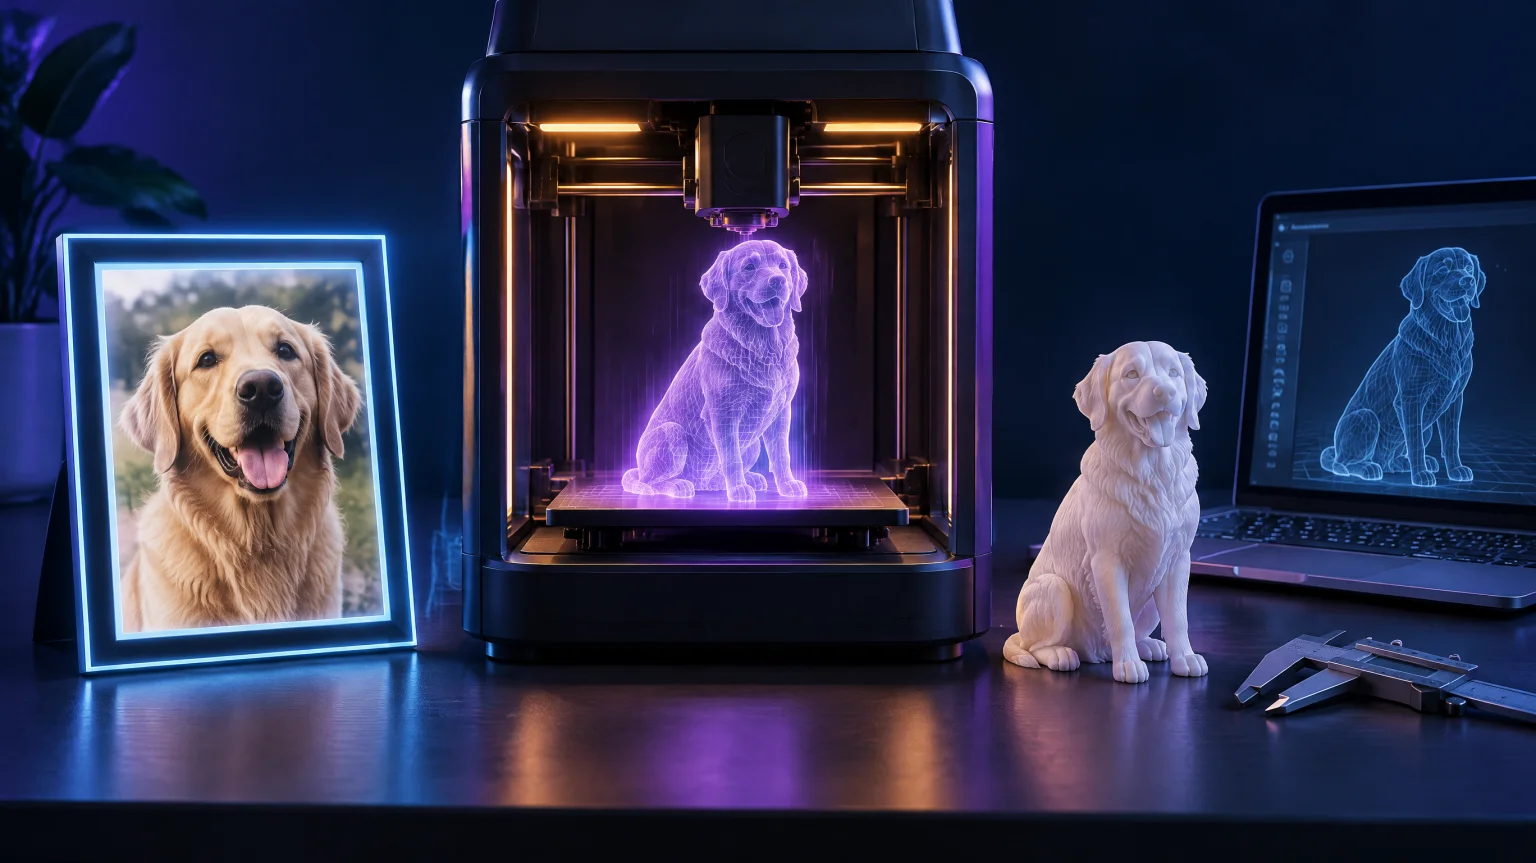
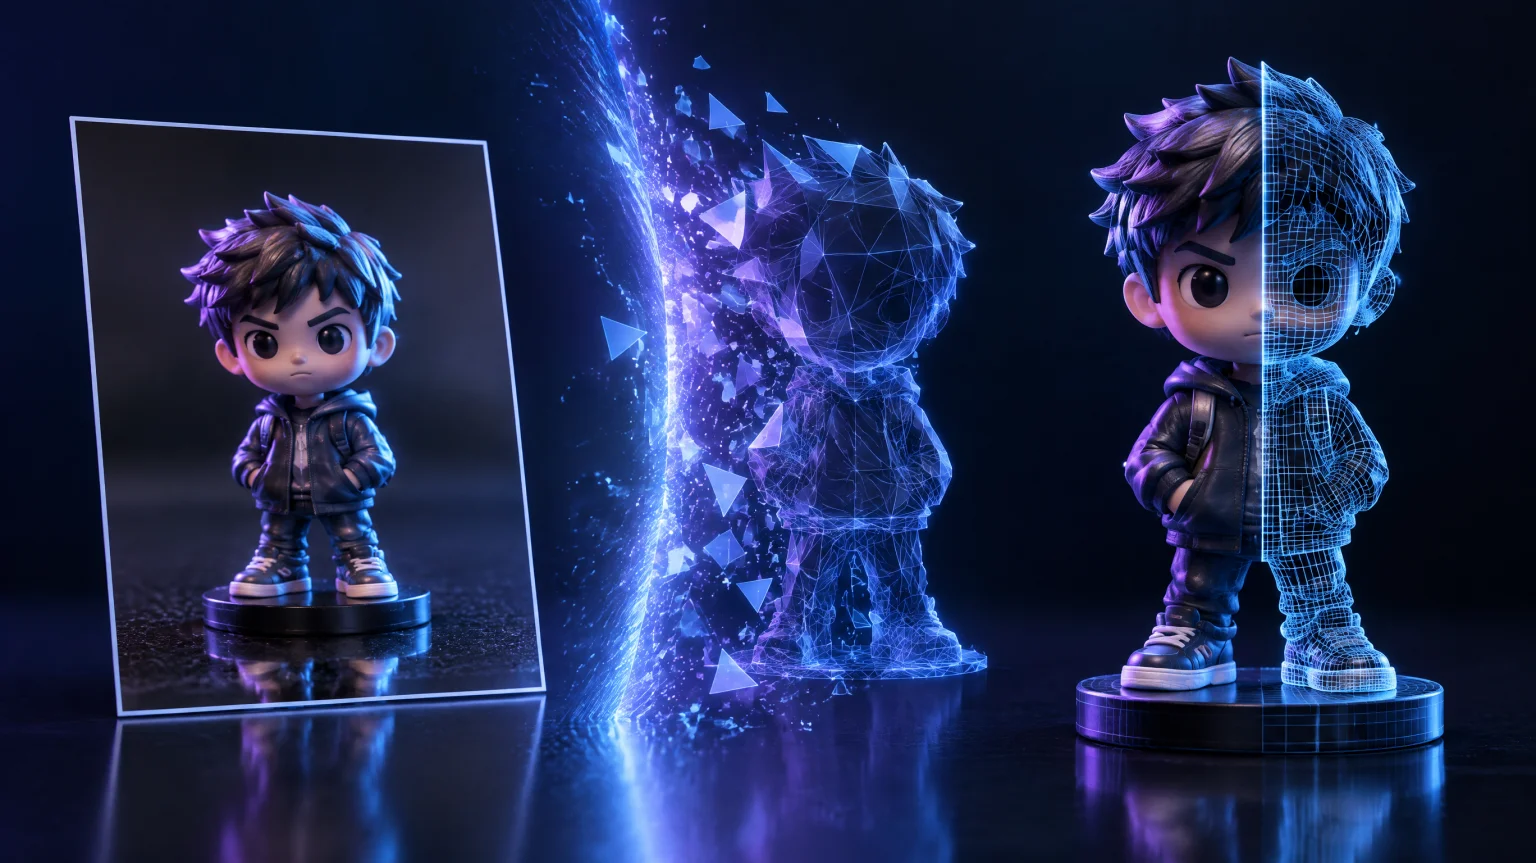
You have one photo of an object — a figurine, a prop, a sneaker, a sculpture — and you want to turn that photo into a 3D model. Ten years ago that meant a camera rig, photogrammetry software and an afternoon of processing. Today a single image is enough: a trained model reads depth and structure out of the frame and hands you a textured mesh you can rotate, edit or send to a printer.
This guide walks through the whole thing step by step. The workflow runs entirely in your browser — no plug-ins, no modeling skills, and a free account is all you need to start. Budget about a minute from upload to download, most of it spent waiting for the engine.
How to turn a photo into a 3D model: the 60-second version
In case you just want the shape of the process before the details:
- Pick a clear photo of one object against a plain background.
- Upload it to the generator in your browser — a free account covers your first renders.
- Pick an engine (fast for drafts, slow for finals) and hit generate.
- Preview the rotating result and download the GLB file.
That's the entire workflow. The rest of this guide is the same four lines with the judgment calls filled in — which photo, which engine, which format, and what to do when the mesh comes out wrong.
What you need to turn a picture into a 3D model
Three things, and you already have two of them:
- A browser. The entire workflow runs online. Nothing to install, nothing to configure.
- One photo of the object, as JPG, PNG or WebP. What makes a good one is Step 1 — it matters more than most people expect.
- About one minute. A fast engine returns a preview-grade mesh in roughly fifteen seconds; a full textured result lands in about forty seconds end to end.
That's the whole list. Everything else is a decision, not a requirement.
Step 1: Pick a photo that converts well
The engine amplifies whatever your photo gives it, so the input sets the ceiling on output quality. A clear photo of one object works best, and the generator's own input guide spells out the rules:
- One clear subject. A single object — a figurine, a prop, a sculpture — beats a busy scene or a group of objects every time.
- A plain, contrasting background. The subject's outline stays crisp, which is exactly what depth estimation needs.
- Even, diffuse lighting. Harsh shadows and blown highlights eat surface detail, and a hard side shadow can read as geometry.
- Sharp focus on the subject. Motion blur and shallow depth of field both degrade the mesh.
- A three-quarter angle, slightly above and to the side. One view, maximum structure.
- Reasonable resolution. Roughly 512×512 pixels or more on the subject; files far beyond that add nothing.
Matte, solid objects — figurines, sculptures, shoes, props, toys — reconstruct most faithfully. Shiny, transparent or hair-thin structures are the hard cases for every method in this field, and mirrors, chrome and glass are the worst offenders of all. A phone photo is perfectly fine: tap to focus, skip the digital zoom, shoot in daylight.
If your only available photo breaks a rule or two, take a new one before generating. Re-shooting takes two minutes; regenerating five times and wondering why the mesh looks wrong takes considerably longer.
Step 2: Open a photo to 3D model converter
Open the photo to 3D model converter and you land on a workbench rather than a form. There's a drop zone for your image, an engine picker above it, and a rotating sample model in the viewport below, so you can see what the output tends to look like before generating anything.
Drag your photo in — the reference thumbnail appears immediately. Generating needs a free account (email only, no credit card), which takes about twenty seconds to create.
Step 3: Choose an engine — speed against detail
This is the only real decision in the whole process. Engines trade speed against detail, and the picker offers four:
- Tripo SR · Fast — a preview-grade mesh in about 15 seconds, 1 credit per generation. The right choice while you're still deciding which photo converts best.
- Trellis Preview — around 30 seconds, textured, and your first generation is free. The zero-commitment way to test the whole pipeline.
- TRELLIS 2 — around 45 seconds, clean topology and texture. The middle path.
- Hunyuan3D v3 — around 90 seconds, full detail. Use it once you've found the shot.
How wide is the speed-versus-quality spread in this field generally? Wide enough to measure — a community benchmark on r/aigamedev put four open-source engines roughly twenty seconds to four minutes apart on identical input, and the full table with timings and file sizes is broken down in how 2D-to-3D photo conversion works. The short version: the gap is mostly a second paint pass — fast engines hand you raw geometry, slower engines spend the extra time painting the object properly.
Practical translation: iterate fast, finalize slow. Burn the 15-second engine on your first two or three candidate photos, then re-run the winner on the 90-second one.
Step 4: Generate, then look at the result honestly
Hit generate. The preview rotates right in the page, so there's no download needed just to judge the result.
One expectation to set before you look: the engine can only infer what the camera never saw. The back and the underside of your object are plausible reconstructions, consistent with what's visible — they're estimates, not measurements. If the front looks right and the back is mushy, that's the method working as designed. A second photo from another angle usually fixes it, and so does switching to a slower engine, which spends more time on topology and texture.
Step 5: Download the GLB — and convert it if you need another format
The download is a GLB file — the glTF binary bundles geometry, textures and materials into one self-contained file. It's the standard for web viewers, product configurators and AR frameworks, and what the on-page preview renders. GLB works directly in Blender, Unity and Unreal, so for most 3D workflows this is already the right format.
If you need OBJ (ZBrush, Maya) or STL (slicers), it's one free step in Blender:
- File → Import → glTF 2.0, pick the GLB.
- Check the mesh (optional: Remesh or 3D-Print toolbox for watertightness).
- File → Export → STL / OBJ.
No Blender handy? The OBJ to STL converter does the same conversion in your browser — drop the GLB, pick the format, download.
Nothing about the download is paywalled, and there is no watermark on the mesh. What your account type changes is credits and resolution ceilings — the free tier's starter credits cover the whole test-it-out flow above, and paid plans raise both the credit balance and the mesh face ceiling (200K on Starter, up to 1M on Max).
Step 6: If the result is wrong, fix the photo first
Most disappointing meshes trace back to the input, not the engine. The failure modes map almost one-to-one onto the input guide:
- Lumps on the surface → clutter behind the subject turned into geometry.
- Merged or missing parts → the subject was cropped at the frame edge, or harsh shadows read as structure.
- A smeared back side → the camera never saw it; the reconstruction did its best with nothing. Shoot the object from behind and generate again.
- Everything looks melted → reflective or transparent surfaces. Convert matte objects, or make a glossy one temporarily matte — a dusting of flour is an old maker trick for exactly this.
Re-shoot with the Step 1 rules, pick a different engine, regenerate. Attempts cost per engine — 1 credit on Tripo SR, 4 on TRELLIS 2, 8 on Hunyuan3D v3, and your first Trellis Preview render is free — so the starter credits that come with a new account cover a solid iterate-and-fix session.
What to do with the finished model
Where it goes depends on what you built it for:
- Blender: File → Import → glTF 2.0. Textures arrive attached; retopologize, remesh or repair from there.
- Unity: install a glTF importer (GLTFast or UnityGLTF) and drag the GLB into Assets. Scale imports in meters.
- A slicer: STL opens directly in Cura, PrusaSlicer and Bambu Studio. Check wall thickness before printing — AI meshes can hide thin spots.
- SketchUp: SketchUp doesn't read GLB natively. Import in Blender first, export DAE or FBX, then bring that file in.
If the printer is the destination, the road from STL to finished object has its own guide — how to turn the result into a 3D print covers slicers, printers and materials end to end. And if you'd rather know what actually happens between "flat photo" and "textured mesh," the piece on 2D-to-3D photo conversion explains the four-stage pipeline in plain language.
Quick answers
Is it actually free?
Creating an account is free and comes with starter credits — enough to run the full workflow above, including the first Trellis Preview render, which costs nothing. There's no watermark on the mesh and no credit card required. Paid plans start at $19.90/month as of November 2026, raising the credit balance and the mesh face ceiling (200K on Starter, up to 1M on Max) with a commercial license.
Do I need to install anything?
No. Upload, generation, preview and download all happen in the browser. Blender is only needed if you want to convert the GLB to another format.
Which photo works best?
One object, plain background, even light, sharp focus, three-quarter angle. Matte surfaces over glossy ones.
Your first model is about forty seconds away
The whole guide compresses to a sentence: find a matte object, shoot it against a plain wall in even light, upload, generate, download. Create a free account and generate your first 3D model — the starter credits cover it, and the first Trellis Preview render costs nothing. Worst case, you're out forty seconds and learned exactly how your camera roll converts.
Sources: product, format and free-tier facts from image-to-3d.app/photo-to-3d-model and image-to-3d.app/image-to-3d-model-free, fetched November 12, 2026; engine timings as published on those pages; open-source engine benchmark as cited there from r/aigamedev (one rented RTX 4090, 40 generations).
Turn your photo into a 3D model
Free, online, no sign-up — ready in about a minute.